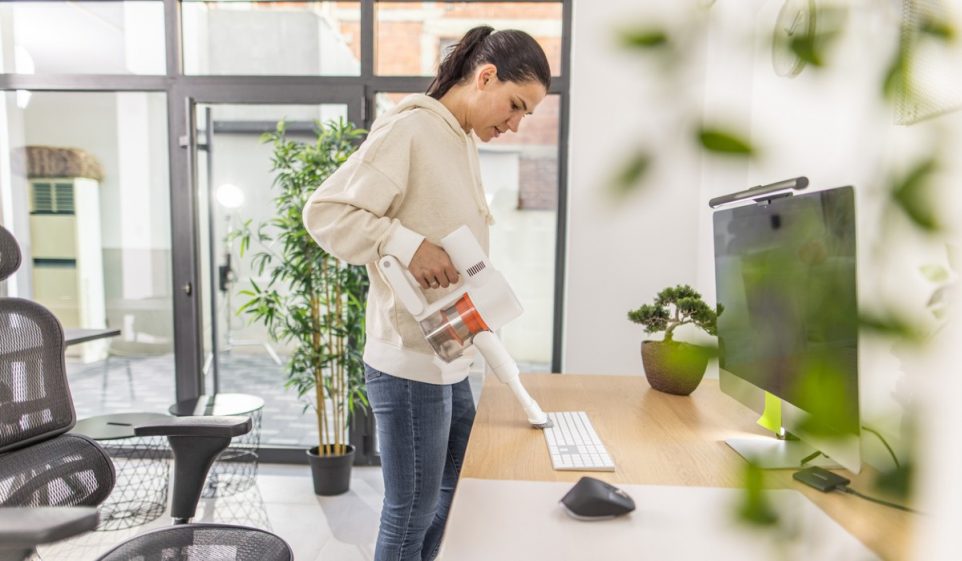
How To Clean a Keyboard in 3 Easy Steps

A clean keyboard is crucial for both functionality and hygiene, especially given how often it’s used in daily computing tasks. Over time, keyboards can become reservoirs for dust, crumbs, and oils, leading to sticky keys and a less responsive typing experience. Fortunately, with the right approach, learning how to clean a keyboard can be simple and effective. This guide provides detailed steps to help you thoroughly clean your keyboard and maintain its optimal performance.
Step 1: Preparing Your Keyboard for Cleaning
The first step in cleaning your keyboard involves some basic preparation to ensure your safety and protect the keyboard’s integrity:
- Safety First: Begin by disconnecting your keyboard from the computer or removing batteries if it’s wireless. This precaution prevents any potential electrical hazards while cleaning.
- Initial Wipe Down: Using a soft, lint-free cloth slightly dampened with water, gently wipe the surface of the keyboard. This initial clean helps remove surface dirt and grime, making the subsequent deep cleaning steps more effective.
Step 2: Deep Cleaning Your Keyboard
Deep cleaning targets the tougher grime that builds up under the keys and between the crevices:
- Dislodging Debris: Start by tilting your keyboard upside down and gently tapping it to dislodge loose crumbs and debris. This can be done over a trash bin to make cleanup easier.
- Soft Brushing: Use a soft-bristled brush, such as an old toothbrush or a paintbrush, to gently sweep out debris from between the keys. Brushes are particularly good at reaching into crevices without pushing debris further into the keyboard.
- Vacuuming: Attach a narrow hose to your vacuum cleaner to suction out any remaining particles. Use a low suction setting to avoid damaging the keyboard internals.
Step 3: Sanitizing the Keyboard
After the physical particles are removed, it’s important to address the germs and sticky residues:
- Rubbing Alcohol: Apply a small amount of isopropyl alcohol (at least 70% concentration) to a microfiber cloth or cotton swab. Gently wipe each key top and sides where oils and germs are likely to accumulate. Alcohol not only cleans but also disinfects without leaving moisture behind.
- Detailing with Cotton Swabs: For hard-to-reach areas between keys, use cotton swabs dipped in alcohol. Carefully clean around each keycap to remove lingering residues and buildup.
Drying and Reassembling
Once cleaning and sanitizing are complete, it’s crucial to ensure the keyboard is completely dry before reconnecting it to your computer:
- Air Drying: Let the keyboard sit undisturbed in a well-ventilated area to air dry. Avoid using heat sources like hair dryers as they can damage the plastic components.
- Reassembly: If you removed keycaps for a more thorough clean, once everything is dry, carefully reattach them according to your keyboard’s layout.
Final Word
Regular cleaning of your keyboard is essential for maintaining both its function and your health. By following these detailed steps on how to clean a keyboard—from preparing and deep cleaning to sanitizing—you can ensure your keyboard remains in prime condition, providing a better user experience and extending its lifespan. Remember, a clean keyboard is not just a minor detail; it’s a core part of maintaining an effective, hygienic workspace.
Your Trust, Our Core Commitment
At Rising Tech, earning and maintaining your trust is the cornerstone of our mission. We're dedicated to transparency, impartiality, and the relentless pursuit of truth in every article, review, and recommendation we publish. Our commitment to these principles ensures that you, our valued reader, are always equipped with reliable and unbiased information. Let us be your trusted guide in the ever-evolving world of technology.