Headshot Photography for Beginners: A Complete Guide

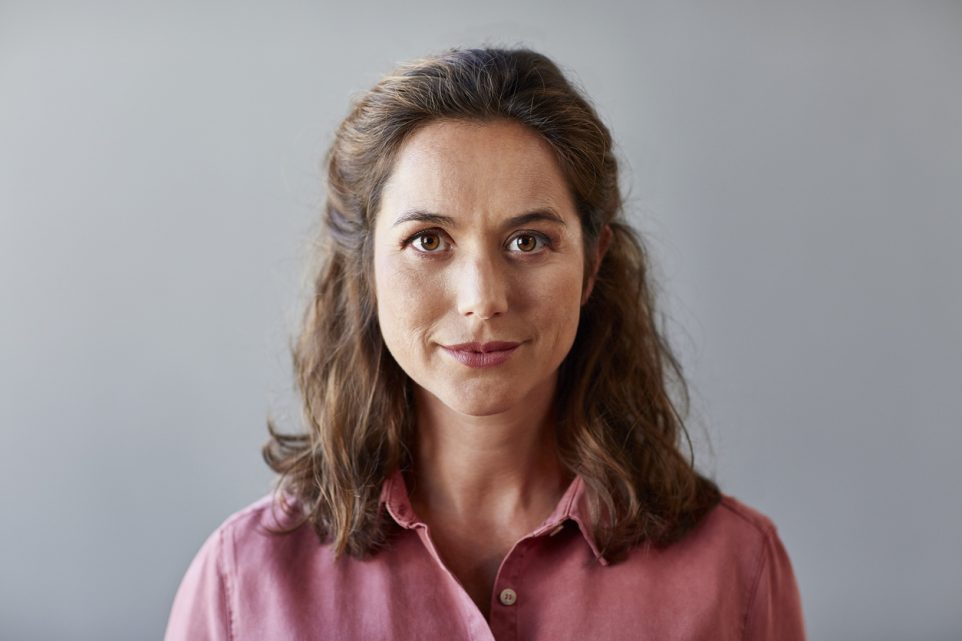
Portrait of confident businesswoman. Beautiful female professional is wearing shirt. She is against gray background.
Headshot photography is all about capturing the perfect image that speaks volumes about an individual’s personality, profession, or brand. Whether you’re looking to transition into professional photography or simply eager to level up your skills, our comprehensive guide is brimming with expert tips, insider knowledge, and proven techniques to help you master the art of headshot photography.
From unraveling the mystery of perfect lighting to understanding the power of angles and poses, we’ll show you how to harness your creativity and technical skills. But it’s not just about the technicalities—it’s about connecting with your subjects, making them comfortable, and bringing out their best. Don’t worry if you’re just getting started or unsure. Everyone has to start somewhere, and you’re already one step ahead with this definitive guide.
Headshot Photography Basics
Headshot photography involves capturing close-up portraits of individuals, focusing on their faces and expressions. These photos are crucial for professionals in various industries, including actors, models, and corporate professionals. They’re also regularly featured in resumes, portfolios, social media profiles, websites, and marketing materials.
Headshots visually represent a person’s identity, allowing potential clients, employers, or casting directors to make initial judgments based on appearance. A well-executed headshot can convey professionalism, confidence, and approachability.
Essential Equipment
A digital camera with manual settings is essential for headshot photography. Popular brands include Nikon, Canon, and Sony. The Nikon digital camera series, such as the Nikon D750 or D850, offers excellent image quality and versatility.
A prime lens with a focal length between 85mm and 135mm is ideal for headshots, as it produces flattering perspectives and shallow depth of field. You can also use a tripod for stability, allowing for precise framing and focus.
Lighting is crucial for achieving successful headshot photos. Reflectors help manipulate light, reducing shadows and enhancing facial features. A basic lighting setup generally includes at least two light sources, such as softboxes or umbrellas, to create even flattering lighting.
A neutral-colored backdrop, such as gray or white, is also commonly used to keep the focus on the subject’s face and expression.
Camera Settings
Knowing more about the various camera setting options will help you take ideal images. ISO (International Organization for Standardization) determines the camera’s sensitivity to light, while shutter speed controls the duration of exposure. Aperture affects the depth of field.
When indoors, set ISO to a low value (e.g., 100-400) to minimize noise. Use a wide aperture (e.g., f/2.8 to f/5.6) to create a blurred background and highlight the subject. Adjust ISO based on lighting conditions, particularly for outdoor photoshoots. Utilize a higher shutter speed to freeze any movement.
Additionally, be sure to use autofocus with the focus point set on the subject’s eyes. Ensure sharpness by using a combination of tripod stability and proper focusing techniques.
The Art of Posing
Posing can convey emotions, highlight features, and create a desired mood. Establish a friendly and professional rapport with your subject by providing clear directions and positive feedback throughout the shoot.
Encourage relaxed and confident poses for men, playing with angles and facial expressions. For women, emphasize femininity, elegance, and versatility through posing techniques such as head tilting, shoulder placement, and hand positioning.
Lighting Techniques
Lighting can shape the subject’s features and create dimension, enhancing the overall look of the headshot. Natural light is ideal for outdoor or environmental backgrounds, while studio light allows for more control over lighting.
Three-point lighting (key, fill, and hair light) is commonly used for headshots. Be mindful of harsh shadows, overly bright highlights, and uneven lighting during every photoshoot.
Post-Processing and Editing
Basic post-processing starts with importing the images into an editing software, such as Adobe Lightroom or Capture One. Once imported, you can begin making your final touches and adjustments.
Familiarize yourself with photo editing tools such as spot healing brush, dodge and burn, and adjustment layers for retouching and enhancing headshots. Use a light hand when retouching and smoothing skin, preserving natural texture while paying attention to blemishes, wrinkles, and under-eye circles.
Enhance colors and tonal range to create a polished look by adjusting the contrast to add depth and dimension. Adjust exposure, white balance, and crop if necessary. Consider the final use of the headshot when cropping and framing, ensuring the subject’s face is the focal point.
Your Trust, Our Core Commitment
At Rising Tech, earning and maintaining your trust is the cornerstone of our mission. We're dedicated to transparency, impartiality, and the relentless pursuit of truth in every article, review, and recommendation we publish. Our commitment to these principles ensures that you, our valued reader, are always equipped with reliable and unbiased information. Let us be your trusted guide in the ever-evolving world of technology.