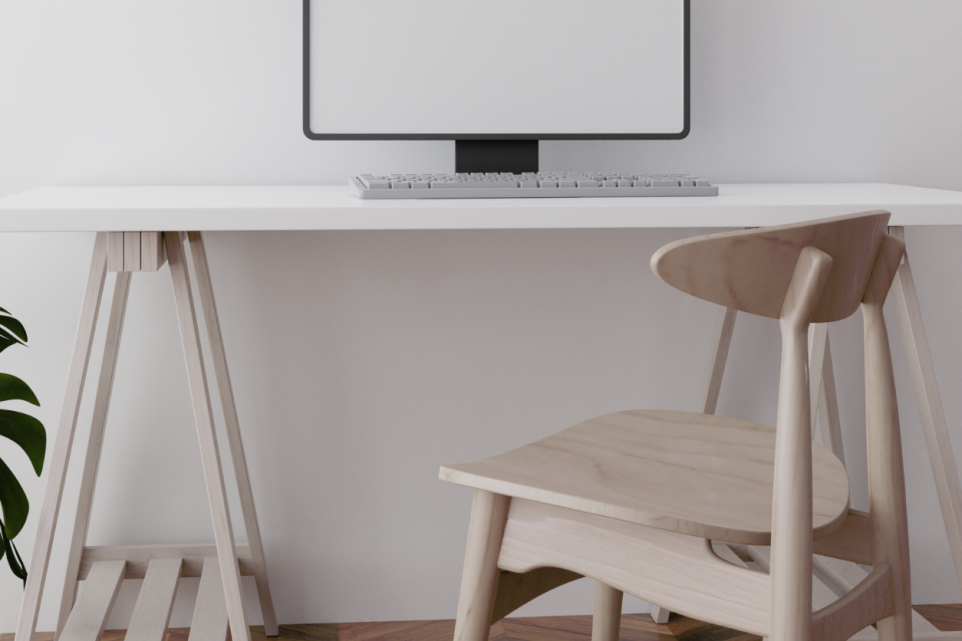
A Step-by-Step Guide for Building Your Own Computer Desk

Creating your own computer desk is not just about having a custom piece of furniture; it’s also a journey into developing your woodworking skills and tailoring a workspace that meets your specific needs. Let’s dive into a detailed guide on how to build your own computer desk.
Step 1: Design and Planning
First, you need to consider the size and functionality of your desk. Decide on the dimensions that will fit your space and meet your needs, whether it’s for gaming, professional work, or general use. Sketch out a rough design, including any shelves, drawers, or specific features like cable management or ergonomic considerations for comfortable use.
Step 2: Choosing Materials
The choice of material will significantly influence the look and durability of your desk. Common materials include:
- Plywood: Versatile and budget-friendly, suitable for various finishes.
- MDF (Medium Density Fiberboard): Provides a smooth surface, though it requires careful handling to avoid moisture damage.
- Solid Wood: Such as maple or birch, known for durability and beauty, though more expensive.
For a balance of cost and quality, plywood offers versatility, while solid woods like maple provide a more durable and aesthetically pleasing finish. When selecting wood, consider its strength and how the weight of your equipment might impact the desk.
Step 3: Cutting and Assembling
Begin by cutting your chosen material according to your design specs. If you’re not experienced, many hardware stores offer cutting services. Construct the frame of the desk first, ensuring it’s sturdy and square. For the top, you could even repurpose a solid core door for a unique look and spacious surface.
Step 4: Sanding and Finishing
Sand down all surfaces to prepare for finishing. This step is crucial for removing any imperfections and preparing the wood for painting or staining. Choose a finish that complements your room’s decor and apply it according to the product’s instructions, ensuring even coverage and protection.
Step 5: Custom Features
Incorporate custom features such as drawers or keyboard trays. You might add a monitor stand or specific compartments for your computer hardware. Consider ergonomic aspects like the height of the desk and space for legroom to enhance comfort.
Step 6: Assembly and Quality Check
Assemble all parts of the desk, attaching the top to the frame securely. Install any additional features like cable trays or LED lighting. Once assembled, do a thorough check for any wobbly parts or sharp edges that need re-sanding or securing.
Step 7: Setting Up Your Workspace
Finally, place your computer and accessories on the desk. Organize cables and peripherals to ensure a clean and functional workspace. Adjust your chair and monitor height to maintain a comfortable and ergonomically correct sitting posture.
Building your own desk not only saves money but also gives you a fully personalized workspace. By taking the time to carefully plan and execute each step, you end up with not just a piece of furniture, but a well-equipped and personalized workstation that reflects your style and meets your specific needs. This project can be a rewarding way to enhance your skills and improve your working environment.
For more detailed guidance and specific tips, referring to resources such as DIY tutorials or woodworking websites can provide additional insights and creative ideas to enhance your desk-building project.
Your Trust, Our Core Commitment
At Rising Tech, earning and maintaining your trust is the cornerstone of our mission. We're dedicated to transparency, impartiality, and the relentless pursuit of truth in every article, review, and recommendation we publish. Our commitment to these principles ensures that you, our valued reader, are always equipped with reliable and unbiased information. Let us be your trusted guide in the ever-evolving world of technology.