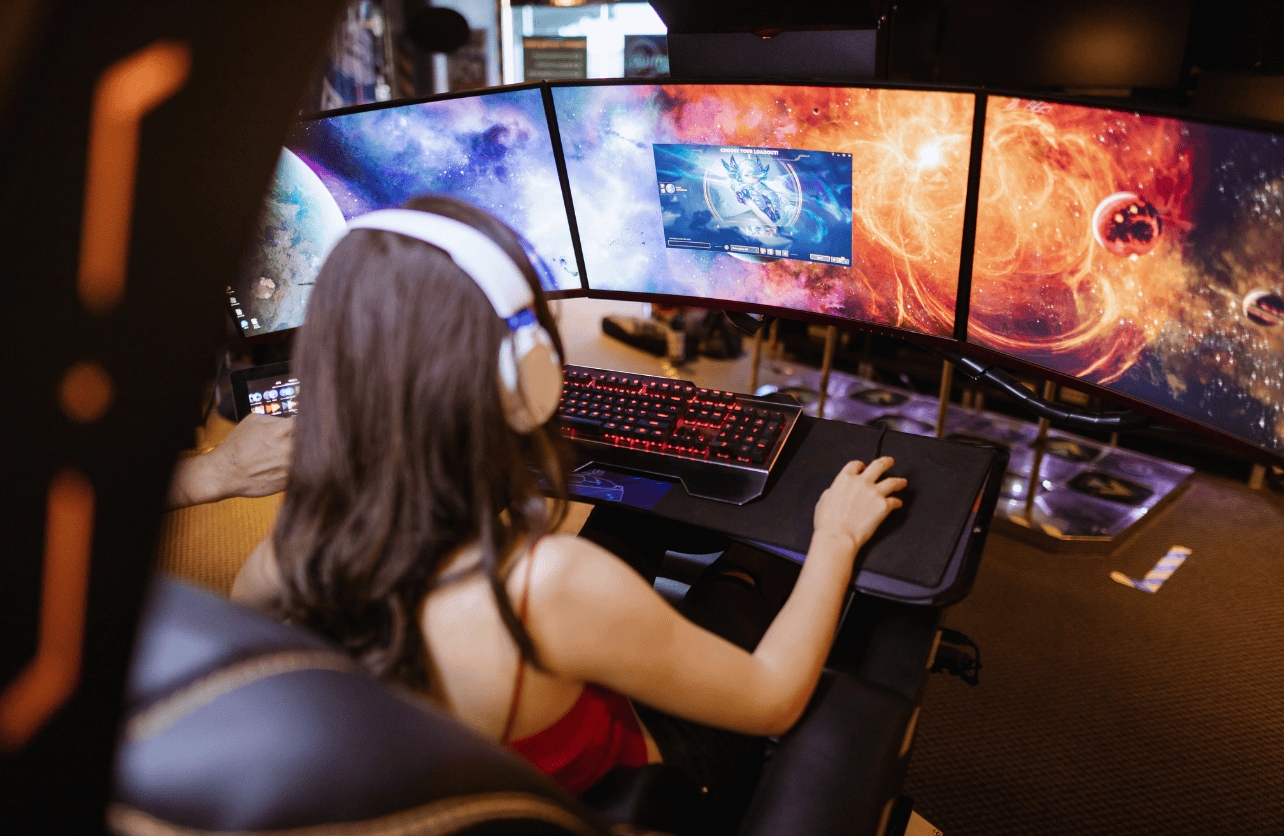
How to Set Up Game Streaming on Your PC: A Beginner-Friendly Guide

Game streaming is no longer just a niche hobby—it’s a full-fledged form of entertainment and a growing career path for thousands of creators. A solid streaming setup is essential if you want to share gameplay with friends or build a serious audience on platforms like Twitch or YouTube. The good news? You can start right from your PC. The not-so-good news? There’s a bit of a learning curve. But with the proper hardware, software, and workflow, you’ll be up and running in no time.
Here’s a step-by-step guide on how to set up game streaming on your PC from scratch.
Define Your Streaming Goals
Before getting technical, clarify your intent. Are you streaming casually to friends, or aiming to grow a following? Do you plan to show just gameplay, or include commentary, face cam, and overlays?
If you’re going for casual play, a basic setup may suffice.
For more serious creators, you’ll need to prioritize production quality, branding, and community engagement.
Your goals will determine the kind of investment you’ll need to make, both in time and money.
Make Sure Your PC Can Handle It
Streaming and gaming at the same time can be demanding, so your hardware matters. Here’s what to aim for as a baseline:
CPU: Intel i5 (10th Gen or newer) or AMD Ryzen 5 3600 or better.
GPU: NVIDIA GeForce GTX 1660 or AMD RX 580 at a minimum.
RAM: At least 16GB for smooth multitasking.
Storage: SSD is highly recommended for quick load times.
Cooling: Good airflow or aftermarket coolers to prevent thermal throttling.
If your setup falls short, you may experience dropped frames, stuttering, or stream crashes—none of which are a good look for your audience.
Choose Your Streaming Platform
Decide where you want to stream. The most popular platforms are:
Twitch: Best for gaming and real-time interaction.
YouTube: Great for broader content and discoverability.
Facebook Gaming: More accessible to casual users with built-in social sharing.
Each platform has different stream key requirements, chat integration, and community expectations, so choose one that aligns with your style.
Install Streaming Software
You’ll need broadcasting software to capture your gameplay, webcam, and audio, and send it to your chosen platform. The three most commonly used programs are:
OBS Studio: Free, powerful, and widely supported by the community.
Streamlabs OBS: Built on OBS but with a more user-friendly interface and built-in widgets.
XSplit Broadcaster: Easy to use, but most features are locked behind a paywall.
Most streamers start with OBS Studio due to its flexibility and active support forums.
Configure Scenes and Sources
In your streaming software, create “scenes”—these are layouts for different parts of your stream (e.g., gameplay, starting soon, intermission).
Each scene contains “sources” like:
Game Capture: Pulls video directly from your game.
Display Capture: Records your entire screen.
Webcam: Optional, but helps build a connection with viewers.
Microphone: For voice commentary or chat.
Organize your layout thoughtfully—clean, readable scenes make for a better viewer experience.
Set Up Your Stream Key and Account
To connect your software to a streaming platform:
Log into Twitch, YouTube, or Facebook.
Navigate to Creator Dashboard or Studio settings.
Copy your unique stream key.
Paste it into the streaming software’s settings under the “Stream” tab.
This step links your broadcast directly to your account.
Tweak Settings for Quality and Stability
Your stream settings determine video quality and system performance. Key areas to adjust:
Resolution: 720p is ideal for mid-range setups; 1080p if your hardware can handle it.
Bitrate: 2,500–6,000 kbps is typical. Match this to your upload speed.
Frame Rate: 30fps is stable for most games; go 60fps for fast-paced titles if possible.
Encoder: Use NVENC (NVIDIA GPUs) or x264 (CPU-based) depending on your hardware load.
Run test streams to find the best balance between performance and visual clarity.
Add Your Personal Touch
To make your stream look polished, consider adding:
Custom Overlays: Display your username, alerts, or social handles.
Alerts: Notify you and your viewers when someone follows, subscribes, or donates.
Chat Widgets: Let viewers see chat on-screen for engagement.
These aren’t required to start, but they go a long way in helping you look professional and consistent.
Test Before You Go Live
Always run a private test stream before your first real broadcast. Check:
Audio levels (game vs. mic)
Webcam framing and lighting
Stream smoothness
Overlay placements
CPU/GPU usage
You can also use OBS’s “Start Recording” feature to simulate a full session and watch it back.
Go Live and Build Your Community
Once you’ve tested everything, hit “Start Streaming” and enjoy the ride. As you get comfortable:
Engage with your viewers through chat.
Maintain a consistent streaming schedule.
Stay active in other communities and cross-promote on social media.
Consistency and interaction are the two biggest keys to growth.
Summing Up
Setting up game streaming on your PC doesn’t have to be overwhelming. With the right tools and a clear sense of your goals, you can build a functional—and even professional—setup without breaking the bank. Start simple, upgrade as you go, and focus on creating a fun, engaging space that reflects your personality. Whether you’re in it for fun or aiming to build a brand, the key is to start streaming. Everything else improves with time.
Your Trust, Our Core Commitment
At Rising Tech, earning and maintaining your trust is the cornerstone of our mission. We're dedicated to transparency, impartiality, and the relentless pursuit of truth in every article, review, and recommendation we publish. Our commitment to these principles ensures that you, our valued reader, are always equipped with reliable and unbiased information. Let us be your trusted guide in the ever-evolving world of technology.