Can You Replace a Motherboard Capacitor?
Motherboards are the backbone of any computer, housing critical components that keep your system running. However, like any piece of hardware, they are susceptible to wear and tear. One of the most common points of failure is capacitors—small cylindrical components that regulate voltage and store electrical energy. When a motherboard capacitor goes bad, it can cause everything from system instability to complete failure.
The good news? Yes, you can replace a motherboard capacitor, provided you have the right tools and a steady hand. While it’s not an easy fix for beginners, those with some basic soldering skills can restore a failing motherboard and extend its lifespan. This guide will walk you through everything you need to know about identifying, removing, and replacing a faulty capacitor safely.
What Does a Motherboard Capacitor Do?
Capacitors are crucial in ensuring your motherboard runs smoothly. They act as power regulators, smoothing out voltage fluctuations to provide a consistent and stable electrical supply to critical components like the CPU, RAM, and GPU.
When a capacitor fails, it can no longer effectively regulate power, leading to random crashes, blue screen errors, boot failures, and performance issues. In severe cases, a completely blown capacitor can render the motherboard unusable.
Signs of a Failing Capacitor
Before jumping into replacing a capacitor, you need to identify whether it’s the source of your motherboard issues. Here are some common signs of capacitor failure:
- Bulging or Swollen Top: A healthy capacitor has a flat top. If it looks swollen or domed, it’s likely failing.
- Leaking Electrolyte: If you see brownish or crusty residue around the base, the capacitor has likely leaked its internal fluid.
- Burn Marks or Corrosion: Any dark spots, burns, or corrosion around the capacitor’s base indicate possible failure.
- Random Crashes or Boot Failures: If your PC powers off unexpectedly, freezes, or fails to boot properly, a bad capacitor could disrupt the motherboard’s power regulation.
- There are no physical signs, But System Instability: Sometimes, capacitors fail without visible damage. If your system behaves erratically, using a multimeter to test the capacitor’s capacitance can confirm whether it’s still functioning correctly.
Tools You’ll Need for Replacing a Capacitor
Replacing a motherboard capacitor requires precision and the right set of tools. Here’s what you’ll need:
Essential Tools:
- Soldering Iron – A fine-tipped, temperature-controlled soldering iron (preferably 25-40W) for delicate work.
- Desoldering Pump or Braid – To remove old solder and free the capacitor from the board.
- Replacement Capacitor – Must match the original’s capacitance (measured in µF) and voltage rating. Using a capacitor with a slightly higher voltage rating is acceptable, but never lower.
- Multimeter – For testing capacitors before and after replacement.
- Needle-nose Pliers – Useful for maneuvering small components.
- Anti-Static Wrist Strap – Prevents static discharge that could damage the motherboard.
- Safety Glasses – Protects your eyes from accidental solder splashes.
Step-by-Step Guide to Replacing a Motherboard Capacitor
1. Power Down and Remove the Motherboard
Before working on any electronics, safety comes first.
- Shut down your PC and unplug the power cable.
- Remove all peripherals and components like RAM, CPU, and GPU if necessary.
- Unscrew the motherboard from the case and place it on a static-free surface.
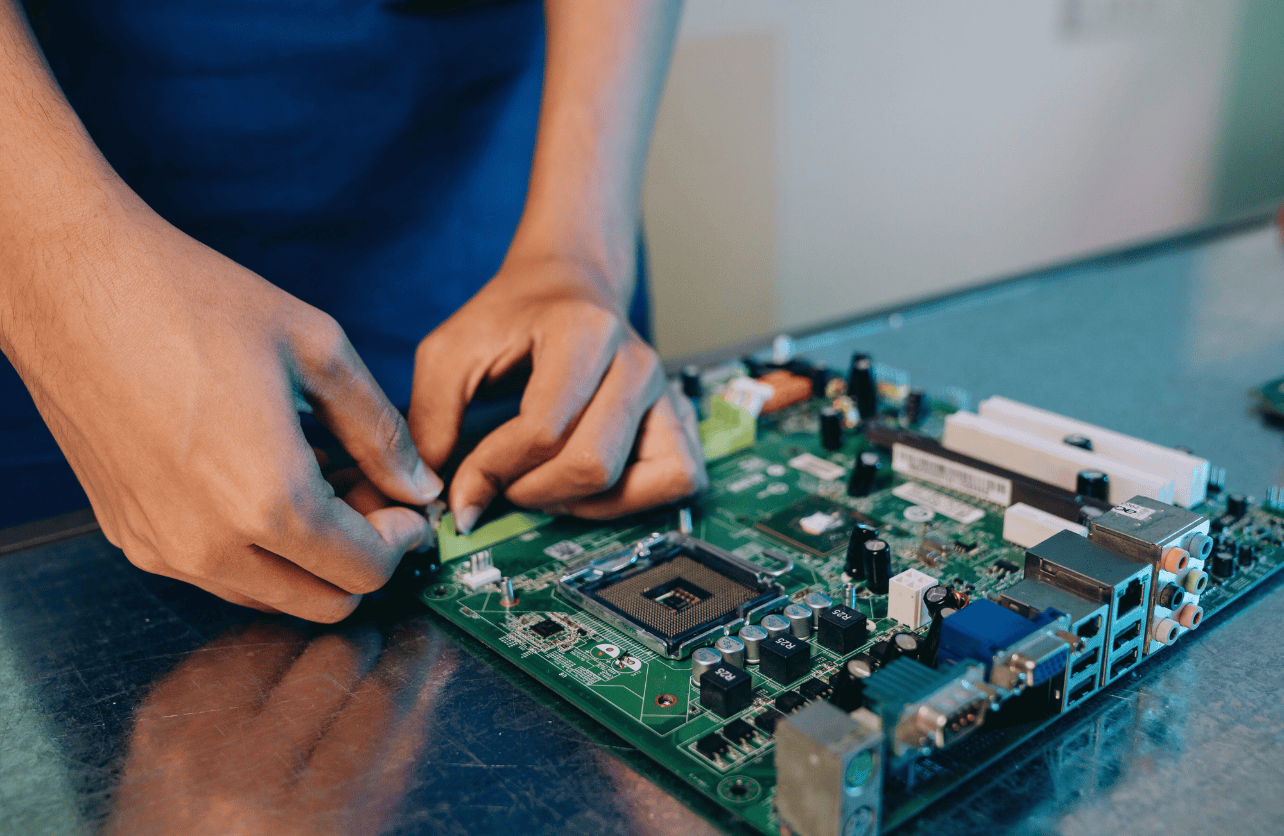
2. Locate the Faulty Capacitor
Use your eyes and multimeter to find the bad capacitor.
- If the capacitor is visibly bulging or leaking, it’s an easy identification.
- If no physical signs are present, use a multimeter set to capacitance mode to test each capacitor. If the reading is significantly lower than the capacitor’s rated value, it’s likely faulty.
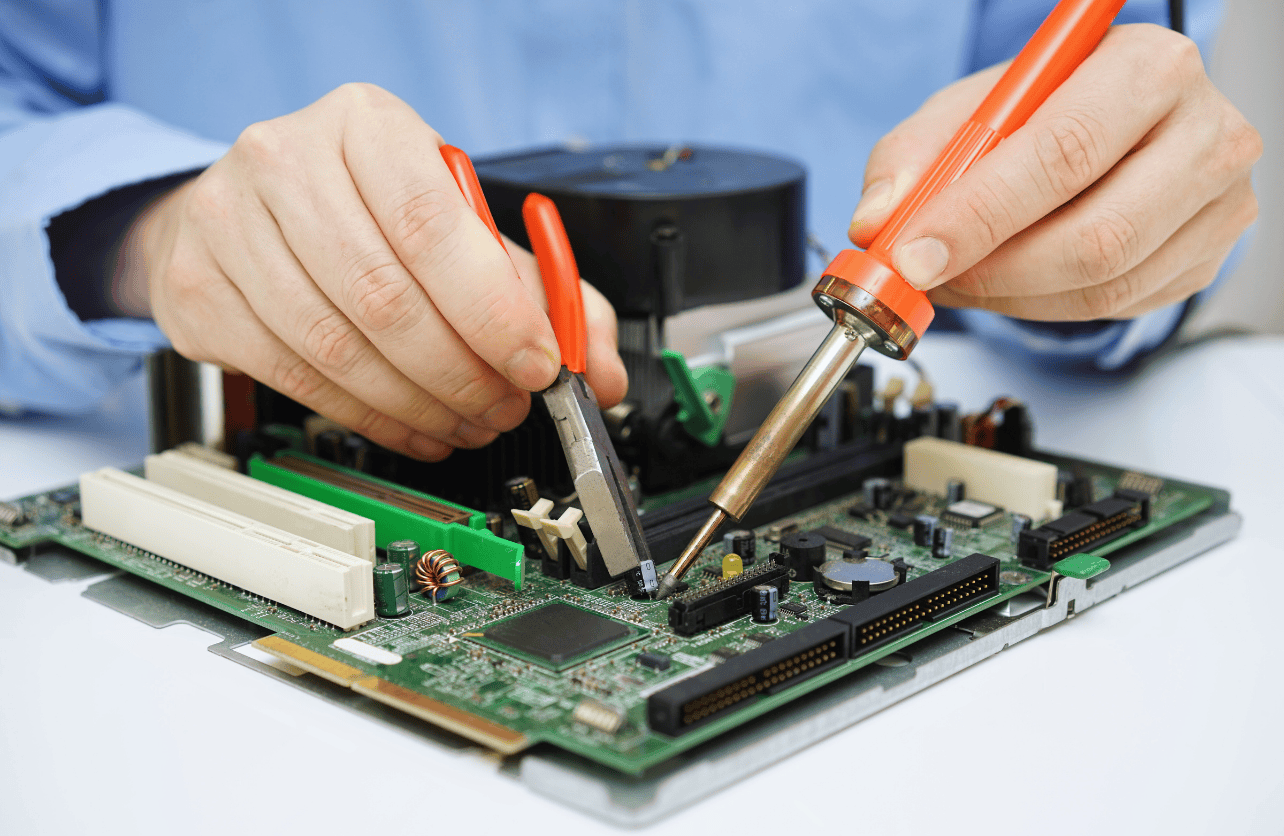
3. Desolder the Old Capacitor
Now comes the delicate part—removing the damaged capacitor without harming the motherboard.
- Heat one lead at a time using your soldering iron while using a desoldering pump to remove the melted solder.
- Repeat for the second lead, carefully freeing the capacitor from the board.
- If the capacitor is stubborn, gently wiggle it out using needle-nose pliers while applying heat.
4. Prepare the Mounting Holes
Once the old capacitor is out, clean up the area.
- Use a desoldering braid or a heated pin to clear any leftover solder from the holes.
- Ensure the holes are open and ready to accept the new capacitor leads.
5. Install the New Capacitor
Polarity matters! Most capacitors are polarized, meaning they must be installed in the correct orientation.
- The longer lead is positive and should go into the + hole on the motherboard.
- Insert the capacitor into the holes, ensuring it sits flush with the board.
6. Solder the New Capacitor
This step requires precision to avoid damaging the board.
- Heat the joint briefly (2-3 seconds) and apply a small amount of solder to secure the connection.
- Do not overheat, as excess heat can damage the board or nearby components.
- Trim excess lead length using wire cutters.
7. Reassemble and Test
Once the new capacitor is in place:
- Double-check for loose connections or solder bridges.
- Reinstall the motherboard into the PC, reconnect all components, and power on.
- If the system boots successfully and runs without previous issues, congratulations—you’ve successfully replaced a capacitor!
When Should You Call a Professional?
While replacing a capacitor is possible for skilled DIYers, not everyone is comfortable working with delicate electronic components. If you:
- Lack of experience with soldering or electronics repair
- Notice multiple capacitors failing (suggesting deeper motherboard issues)
- Are dealing with an expensive or rare motherboard
…it may be safer to take the motherboard to a professional repair technician.
Final Thoughts
Anyone with patience and the right tools can replace a motherboard capacitor. This repair can extend the lifespan of your motherboard and save you from having to replace your entire PC. However, the process requires precision, and mistakes can cause further damage.
If you’re confident in your soldering skills and follow the correct steps, this repair can be a cost-effective and rewarding solution to motherboard failure. But if you’re unsure, professional repair is always a safer option.
Either way, understanding how capacitors work and their role in power regulation gives you greater control over your PC’s longevity and performance.
Your Trust, Our Core Commitment
At Rising Tech, earning and maintaining your trust is the cornerstone of our mission. We're dedicated to transparency, impartiality, and the relentless pursuit of truth in every article, review, and recommendation we publish. Our commitment to these principles ensures that you, our valued reader, are always equipped with reliable and unbiased information. Let us be your trusted guide in the ever-evolving world of technology.