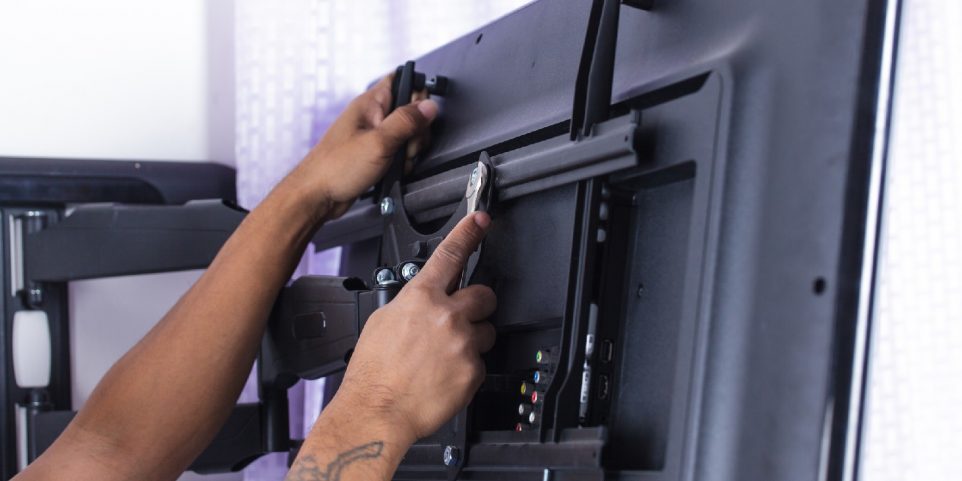
How To Mount a TV Yourself With a TV Wall Mount Kit

Thinking about sprucing up your space with a simple yet impactful update? Mounting your TV on the wall is a slick move. It clears up floor space, makes the room look neater, and let’s be honest, it does give your viewing angle that cinema-like feel. Whether you’re trying to enhance your cozy movie corner or just making the most of your layout in a smaller room, I’m here to walk you through how to securely get your TV up on the wall, step by step.
What You’ll Need
- TV wall mount kit
- Stud finder
- Drill and drill bits
- Screwdriver and power driver
- Level
- Tape measure
- Pencil or marker
- Socket wrench
Find the Right Placement
First things first, let’s get everything ready. If your TV is still nestled in its box, take it out and set aside any stands or legs attached to it; these won’t be needed for wall mounting. Grab your TV mount kit. (Quick tip: I found some pretty solid mounts on Amazon that are more budget-friendly than some store prices)
Before we dive into the nitty-gritty, let’s talk placement. Where you mount your TV will depend on where you’ll be watching from. In a living room, you might want the center of the TV at eye level when seated. In an exercise room or a standing setup, you’ll want it higher. Take a moment to visualize where the TV will go — this can save you a headache later!
Mounting the Bracket and TV
Now, onto the mounting. First, you’ll attach the bracket to your TV. This might seem tricky, but it’s really about matching the right screws to your TV’s back. You don’t want screws that are too long as they might damage the TV (a common mistake!). Use the shorter screws provided in the kit to secure the bracket without pushing too hard against the screen.
Next, let’s place the wall mount. Using a stud finder, locate the studs in your wall where the mount will attach. It’s crucial to mount directly into these studs for stability (nobody wants a TV crash mid-season binge!). Mark the stud centers with a pencil. Most mounts come with a level or template to help you align everything perfectly. If yours doesn’t, a standard level works great to ensure your TV won’t be tilting sideways.
Once you’ve marked where the mounts will go, drill pilot holes. These should be just big enough for the screws to fit snugly without jiggling around. Secure the mount to the wall with the screws or bolts provided in your kit — this part might require some elbow grease!
Attaching the TV
With the wall part secured, it’s time to hook your TV onto the mount. Lift the TV (get a friend to help with larger models), and hook the top of the TV bracket over the wall mount bar. Most mounts will click or secure in place. Then, depending on your mount type, you might need to secure the bottom of the TV to the mount with additional screws. This ensures your TV won’t just lift off the mount if nudged.
Give your setup a gentle test pull to ensure everything is snug and secure. You don’t want any movement beyond what the mount is designed to allow (like swiveling or tilting).
Your Trust, Our Core Commitment
At Rising Tech, earning and maintaining your trust is the cornerstone of our mission. We're dedicated to transparency, impartiality, and the relentless pursuit of truth in every article, review, and recommendation we publish. Our commitment to these principles ensures that you, our valued reader, are always equipped with reliable and unbiased information. Let us be your trusted guide in the ever-evolving world of technology.