How To Fix a Cracked Phone Screen in 5 Easy Steps!

xr:d:DAFo1FL9DFI:232,j:5009526297021151958,t:23072508
A cracked phone screen can be a frightening occurrence. It’s all too easy to drop your phone and crack it. It’s an infuriating experience, especially if you don’t have the budget to get a new phone right away. Luckily, with some know-how, you can quickly and easily repair your cracked phone screen in a few simple steps.
In this post, we’ll run through the five steps you need to take to fix a cracked phone screen. We’ll also tell you which tools you’ll need to do the job properly, so you can confidently repair your phone. Keep reading to learn more.
Gather Materials
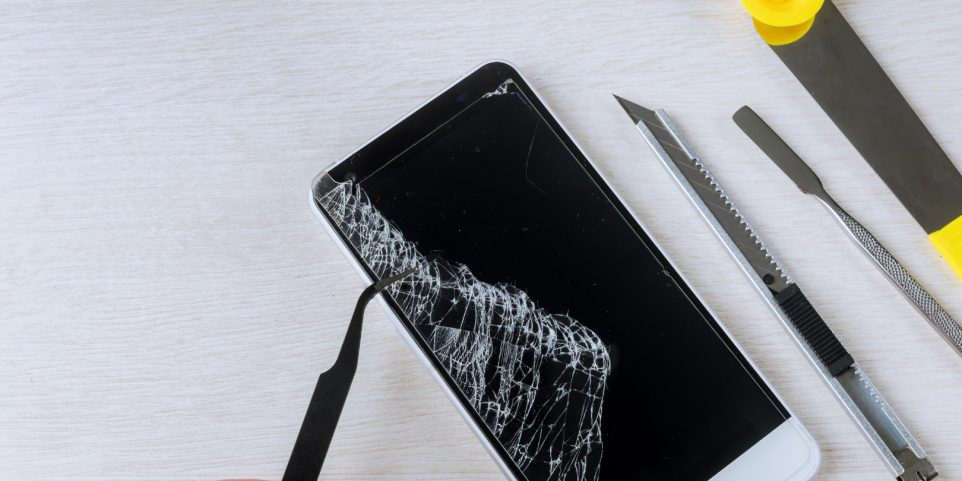
You’ll need a few items to fix your broken or cracked phone screen. You’ll need a replacement screen, screwdriver, masking tape, cleaning solution, plastic spudger, tweezers, and a phone screen protector.
The first step in repairing your phone screen is finding the necessary materials. The replacement screen should come from your phone’s manufacturer or certified third-party seller. You should also be able to find the screwdrivers, masking tape, plastic spudger, tweezers, and cleaning solution at any local hardware store or electronics shop. You may also want to consider buying a phone screen protector.
Remove the Broken Phone Screen
Before beginning any repairs, the first step is to power down your phone safely. Remove the battery to prevent electrical shock or damage during the process. If you can’t remove the battery, power it off by holding down the power button until it shuts down completely.
Once your phone is off, you can remove the old broken screen from the frame. The process varies depending on your phone model, so refer to the user manual for instructions. You’ll need to unscrew the screen and detach it using a plastic spudger and tweezers. Remember to keep all the screws safe for later use when installing the new screen.
Clean the Phone Frame
Before installing the new screen, ensure the frame of your device is clean to avoid interference with its functionality. Use a dry cloth or cotton swabs with rubbing alcohol to clean around the frame, be cautious with your scrubbing to avoid damaging the internal components.
Apply a suitable cleaning solution to reach inaccessible parts within the frame. Ensure the solution is safe for electronics, and let it penetrate the cracks and crevices before wiping it off with a dry cloth.
Apply masking tape to the areas where metal parts might touch during installation to prevent short-circuiting during testing. This extra step will ensure a glitch-free reassembly process.
Install the New Screen
After preparing the phone, it’s time to install the new replacement phone screen. You can slide or insert the new screen into place without difficulty, but it’s always a good idea to consult the user’s manual for specific instructions.
Ensure the new screen fits snugly without too much force, as loose contact points between components could lead to faulty connections during the testing phase.
Reconnect the associated wires and components to ensure the phone functions properly. This step may vary depending on your phone model, so consulting the user manual can be helpful. Double-check that all connection points are aligned correctly to avoid potential issues with faulty connections during the testing phase.
Test the New Phone Screen
Before reassembling everything and testing the newly installed phone screen, take some time to check your work thoroughly. Ensure all wiring connections and components are correctly connected. Double-check everything to avoid potential issues with faulty connections or incorrectly installed components.
Once you have checked everything properly, put the external parts back together. Ensure that all internal wiring connections are in the appropriate place.
After the reassembly, turn on the device to check if the internal components are still working correctly. Focus on testing the functionality of the new replacement phone screen. Test commands like swipes and taps to check the response and ensure everything is functioning properly.
If you notice any issues with the response or functionality, consider disassembling the phone again to troubleshoot the problem. Repeat the steps until the phone is fully repaired and working as expected.
Add a protective layer like a phone screen protector to protect against future accidents. With these steps, you should have a fully functional smartphone with a brand-new screen.
Final Note
Fixing your cracked phone screen is not difficult if you know what you’re doing. With the proper materials and patience, you can have your phone running like new. Just remember to power down the phone before you start disassembling it, clean off the frame before installing the new screen, and double-check the connections before turning the phone back on. If you follow these five simple steps, you can repair your cracked phone screen with confidence.
Your Trust, Our Core Commitment
At Rising Tech, earning and maintaining your trust is the cornerstone of our mission. We're dedicated to transparency, impartiality, and the relentless pursuit of truth in every article, review, and recommendation we publish. Our commitment to these principles ensures that you, our valued reader, are always equipped with reliable and unbiased information. Let us be your trusted guide in the ever-evolving world of technology.