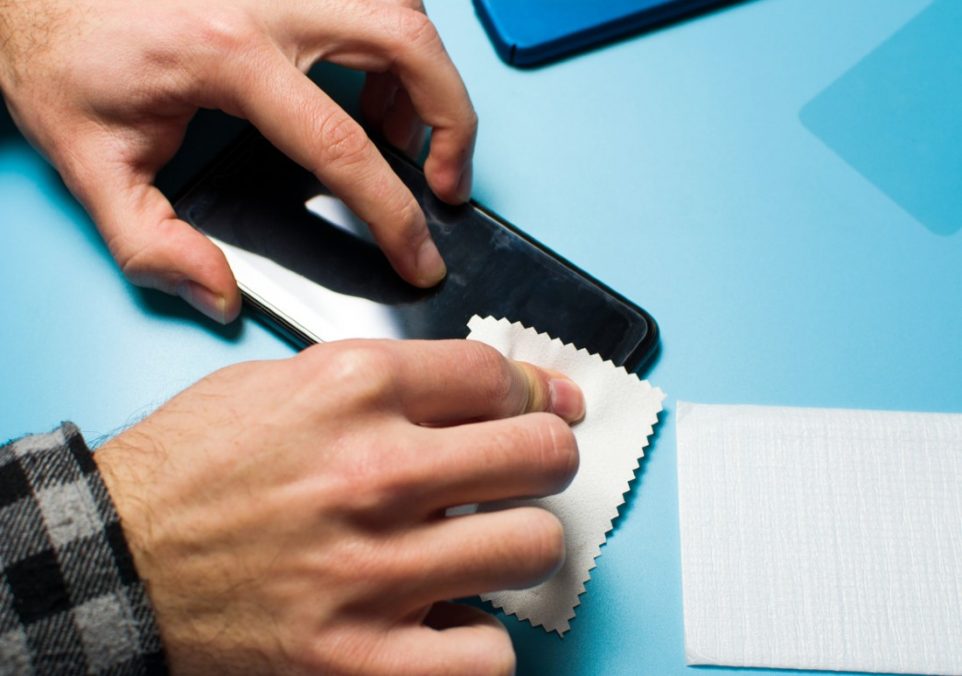
How to Get Air Bubbles Out of a Screen Protector

You’ve just applied a brand-new screen protector to your beloved device, aiming to keep that pristine, crystal-clear screen safe from scratches and smudges. But as you gaze at your handiwork, you notice it—those pesky air bubbles trapped beneath the protector, marring the otherwise flawless look. Don’t worry—you don’t have to live with these unsightly bubbles.
In this blog, we’ll guide you through the process of getting air bubbles out of your screen protector, ensuring your device’s screen remains sleek and bubble-free. Whether you’ve encountered a single small bubble or multiple larger ones, these tips and techniques will help you achieve a smooth and clear screen that enhances your device’s appearance.
The Different Types of Screen Protectors
Before we dive into the removal process, it’s essential to understand that not all Android and iPhone screen protectors are the same. There are primarily two types: adhesive-backed and tempered glass screen protectors.
Adhesive-backed screen protectors come with a layer of adhesive that attaches directly to your device’s screen. They tend to be more prone to air bubbles during application. Tempered glass screen protectors are thicker, more rigid protectors that adhere to your screen through static electricity or silicone adhesive. They generally have fewer issues with bubbles but can still develop them.
Tools You’ll Need
A microfiber cloth
A credit card or a similar plastic card
A piece of transparent tape (if needed)
A dust-free, well-lit workspace
The Step-by-Step Guide to Bubble Removal
Step 1: Prepare Your Workspace
Find a clean, dust-free area to work in. Dust particles are a common cause of air bubbles, so a controlled environment is essential.
Step 2: Wash and Dry Your Hands
Clean and dry your hands thoroughly. Any dirt or moisture on your fingers can transfer to the protector and create bubbles.
Step 3: Assess the Situation
Examine the screen protector carefully to identify the location and size of the air bubbles. This will help you determine the best approach for removal.
Step 4: Use a Credit Card
For adhesive-backed protectors, start by gently pressing on the bubble with your fingers to push it toward the nearest edge. If that doesn’t work, use a credit card or a similar plastic card. Place the card over the bubble, pressing it firmly against the protector.
Step 5: Push the Bubble Out
With the card in place, start pushing the bubble outwards towards the nearest edge of the screen protector. Apply steady, even pressure, but be careful not to press too hard and damage the screen.
Step 6: Work Slowly
Gradually work your way from the center of the bubble toward the edge, ensuring that the bubble is being pushed out as you go. If the bubble resists, you may need to lift the protector slightly to release the trapped air.
Step 7: Smooth It Out
Once you’ve pushed the bubble to the edge, use your fingers or the card to smooth out any remaining imperfections. Be patient and gentle to avoid creating new bubbles.
Step 8: If All Else Fails, Use Tape
For particularly stubborn bubbles, you can use a small piece of transparent tape. Place the tape over the bubble and gently lift it. The tape should lift the protector slightly, allowing the air to escape. Then, press the protector back down.
Step 9: Final Inspection
Examine the protector closely to ensure all bubbles are gone. If you spot any remaining bubbles, repeat the above steps until your screen protector is completely bubble-free.
Conclusion
Air bubbles in your screen protector may seem frustrating, but with patience and the right technique, you can remove them and enjoy a flawless screen once again. Remember that practice makes perfect, so don’t get discouraged if it takes a few tries to get it right. With a little skill and care, you’ll have your screen protector looking crystal clear and doing its job of safeguarding your device.
Your Trust, Our Core Commitment
At Rising Tech, earning and maintaining your trust is the cornerstone of our mission. We're dedicated to transparency, impartiality, and the relentless pursuit of truth in every article, review, and recommendation we publish. Our commitment to these principles ensures that you, our valued reader, are always equipped with reliable and unbiased information. Let us be your trusted guide in the ever-evolving world of technology.