How to Install Smart Home Devices: A Comprehensive Guide

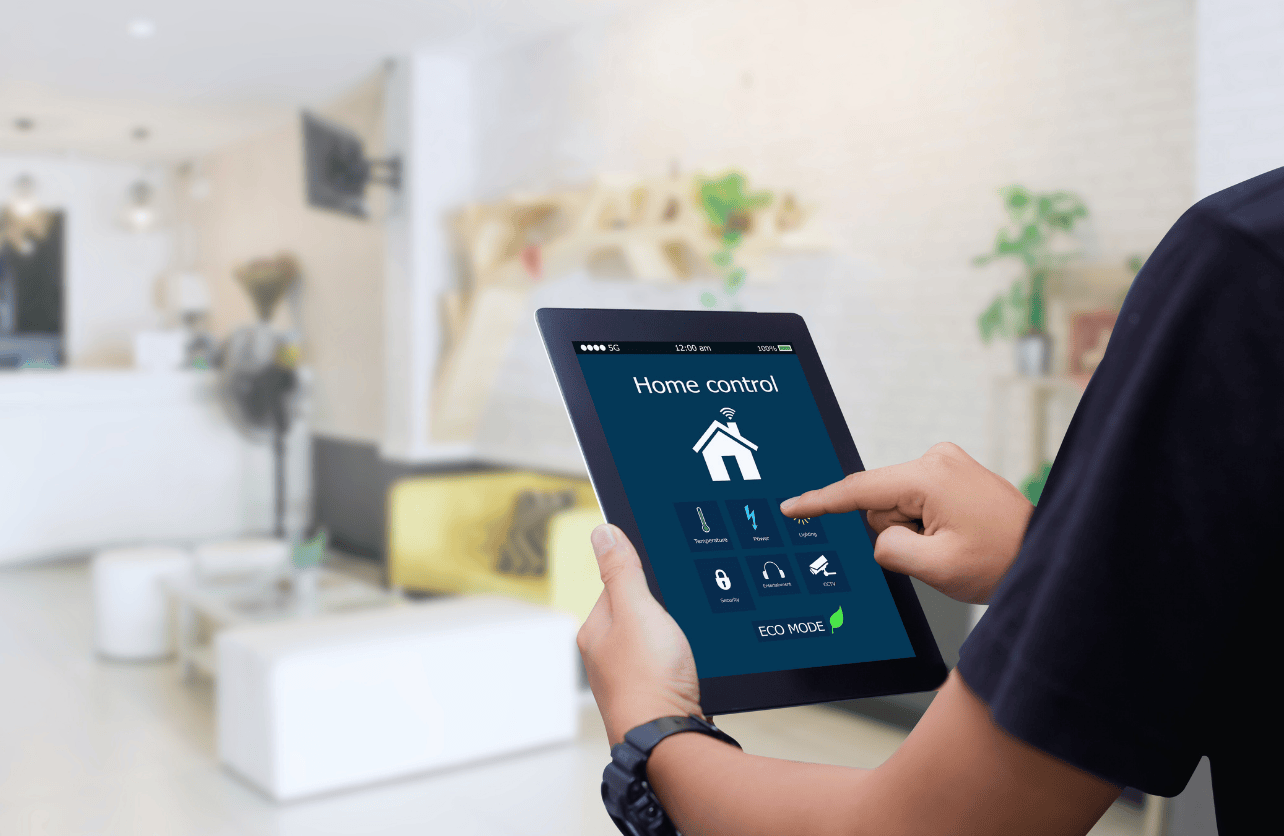
Smart home devices offer convenience, security, and energy efficiency by allowing you to control various aspects of your home remotely or through automation. This comprehensive guide will walk you through the general steps to install different types of smart home devices, including smart lights, thermostats, security cameras, door locks, and voice assistants.
1. Preparation and Planning
Before getting into installation, it’s essential to plan your smart home setup.
Assess Your Needs
- Identify Devices: Decide which devices you want to make smart—lights, thermostats, locks, etc.
- Compatibility: Ensure the devices are compatible with your home’s infrastructure and with each other.
Check Your Wi-Fi Network
- Strength and Coverage: Smart devices rely on Wi-Fi; ensure you have strong coverage throughout your home.
- Network Security: Update your Wi-Fi password and ensure your network is secure.
Gather Tools and Materials
- Smartphone or Tablet: Necessary for setting up and controlling devices.
- Basic Tools: Precision screwdrivers, pliers, a drill, etc., depending on the device.
- User Manuals: Keep the manuals handy for specific instructions.
2. Setting Up a Smart Home Hub

A smart home hub connects and controls multiple devices.
Choose a Hub
- Popular Options: Amazon Echo, Google Nest Hub, Apple HomeKit, Samsung SmartThings.
- Consider Compatibility: Ensure the hub supports the devices you plan to install.
Installation Steps
- Plug In the Hub: Connect it to a power source.
- Download the App: Install the hub’s companion app on your smartphone.
- Create an Account: Follow the on-screen instructions to set up an account.
- Connect to Wi-Fi: Use the app to connect the hub to your home network.
3. Installing Smart Lights

Smart lights can be controlled remotely and set on schedules.
Types of Smart Lights
- Bulbs: Replace existing bulbs with smart ones.
- Switches: Install smart switches to control existing lights.
- Strips and Fixtures: Add smart light strips or fixtures for ambiance.
Installation Steps for Smart Bulbs
- Turn Off Power: Switch off the light from the wall switch.
- Replace the Bulb: Unscrew the old bulb and screw in the smart bulb.
- Turn On Power: Switch the light back on.
- Set Up via App:
- Download App: Install the manufacturer’s app.
- Create an Account: Register if required.
- Add Device: Follow the prompts to add the bulb.
- Configure Settings: Name the bulb, set schedules, and adjust brightness or color.
Installation Steps for Smart Switches
Note: Installing smart switches involves working with electrical wiring. If you’re uncomfortable with this, consider hiring a professional.
- Turn Off the Circuit Breaker: Cut power to the switch you’re replacing.
- Remove Existing Switch:
- Unscrew the Faceplate: Remove the cover.
- Unscrew Switch: Pull out the switch to expose wires.
- Note Wiring Configuration: Take a photo for reference.
- Disconnect Wires: Remove wires from the old switch.
- Connect Smart Switch:
- Match Wires: Connect live, neutral, ground, and load wires as per instructions.
- Secure Connections: Use wire nuts and ensure tight connections.
- Install Switch: Screw the smart switch into the wall box.
- Replace Faceplate: Attach the new cover.
- Restore Power: Turn the circuit breaker back on.
- Set Up via App: Add the switch in the manufacturer’s app.
4. Installing a Smart Thermostat

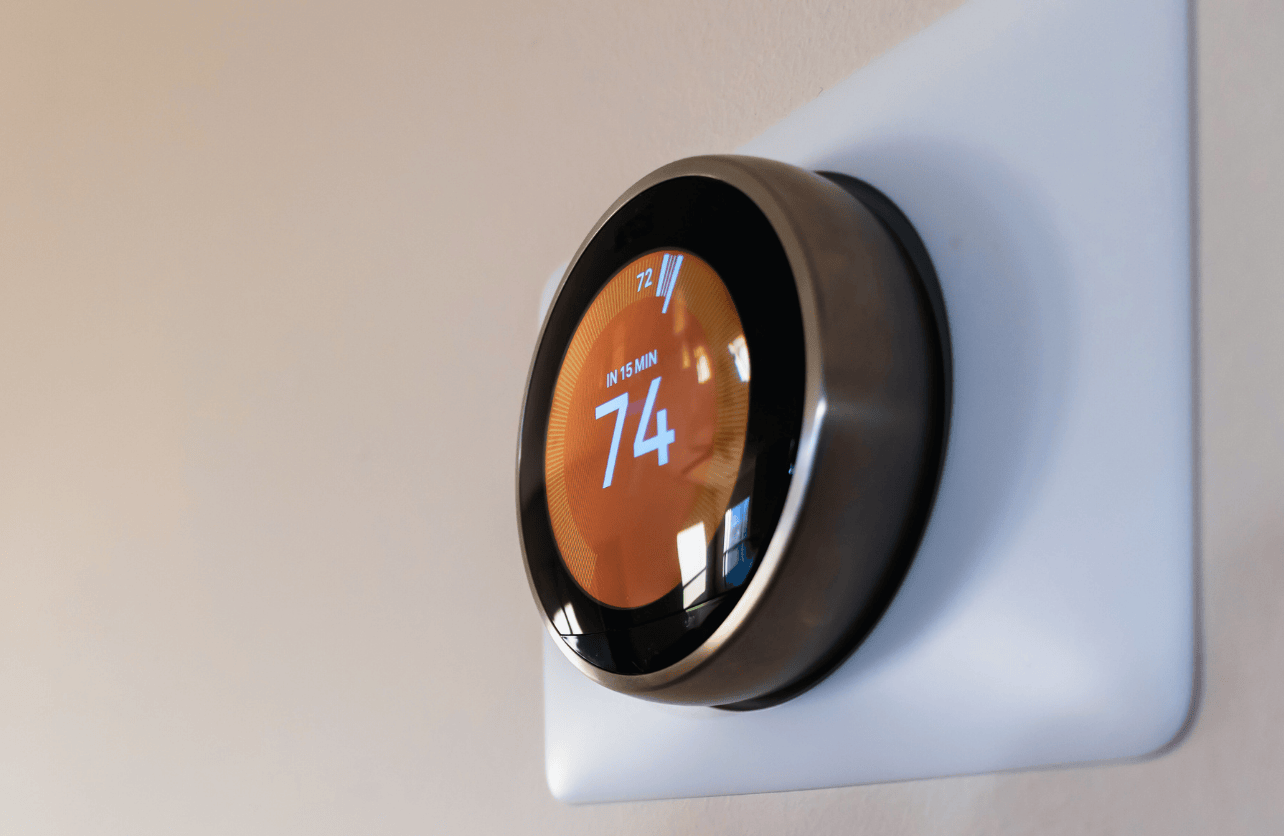
Smart thermostats help regulate home temperature efficiently.
Compatibility Check
- HVAC System: Ensure your heating and cooling system is compatible.
- C-Wire Requirement: Some thermostats require a common wire (C-wire) for power.
Installation Steps
- Turn Off the HVAC System: Shut off power at the breaker.
- Remove Old Thermostat:
- Detach Faceplate: Expose the wiring.
- Label Wires: Use labels to mark each wire according to its terminal.
- Disconnect Wires: Unscrew and remove the old mounting plate.
- Install Smart Thermostat Base:
- Thread Wires Through: Pull wires through the new base plate.
- Mount Base: Screw it onto the wall.
- Connect Wires: Match each wire to the corresponding terminal.
- Attach Faceplate: Snap or screw on the thermostat display.
- Restore Power: Turn the breaker back on.
- Set Up Thermostat:
- Follow On-Screen Prompts: Configure settings on the thermostat.
- Connect to Wi-Fi: Use the app to connect.
- Update Preferences: Set schedules and temperature ranges.
5. Installing Smart Security Cameras

Enhance home security with smart cameras.
Placement Planning
- Decide Locations: Entry points, backyard, hallways, etc.
- Power Source: Ensure access to power outlets or plan for battery-powered cameras.
Installation Steps
- Mounting the Camera:
- Attach Mounting Bracket: Use screws and anchors if necessary.
- Position Camera: Attach the camera to the bracket.
- Powering the Camera:
- Plug In: Connect to an outlet, or
- Insert Batteries: For battery-operated models.
- Set Up via App:
- Download App: Install the manufacturer’s app.
- Create an Account: Register if needed.
- Add Device: Follow prompts to connect the camera.
- Configure Settings:
- Set Motion Zones: Define areas for motion detection.
- Adjust Notifications: Choose when and how to receive alerts.
- Test the Camera: Ensure live feed and recording work properly.
6. Installing Smart Door Locks

Smart locks provide keyless entry and enhanced security.
Installation Steps
- Remove Existing Lock:
- Unscrew Interior and Exterior Parts: Keep track of all screws and parts.
- Install Smart Lock Hardware:
- Attach Deadbolt: Install the new deadbolt if provided.
- Mount Exterior Keypad: Align and insert through the door.
- Attach Interior Assembly: Connect to the exterior part through the door.
- Connect Wires: If applicable, connect any cables between components.
- Secure the Lock: Tighten all screws and ensure the lock operates smoothly manually.
- Install Batteries: Insert batteries into the lock.
- Set Up via App:
- Download App: Install the manufacturer’s app.
- Create an Account: Register if required.
- Add Device: Follow prompts to connect the lock.
- Configure Settings:
- Set Access Codes: Create codes for family members.
- Set Auto-Lock Features: Define timing for automatic locking.
- Enable Notifications: Receive alerts for lock activities.
7. Setting Up Voice Assistants

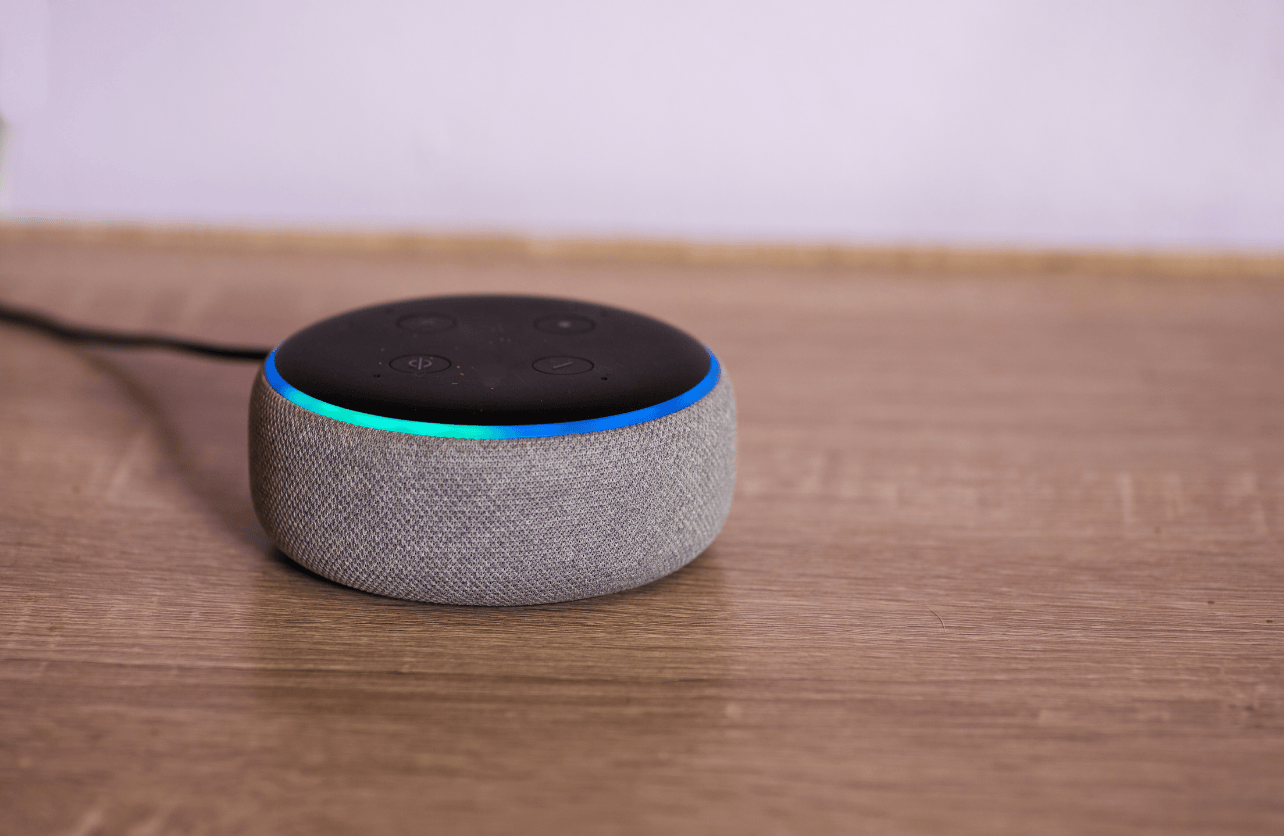
Voice assistants like Amazon Alexa, Google Assistant, or Apple Siri can control your smart devices.
Installation Steps
- Plug In the Device: Connect your smart speaker or display to power.
- Download the App: Install the appropriate app on your smartphone.
- Set Up Account: Log in or create an account.
- Connect to Wi-Fi: Follow in-app instructions to connect the device to your network.
- Link Smart Devices:
- Enable Skills or Services: For Alexa, enable skills; for Google Assistant, add services.
- Discover Devices: Use voice commands or app options to find your devices.
- Test Voice Commands: Try controlling devices using voice instructions.
8. Troubleshooting Common Issues
Device Not Connecting to Wi-Fi
- Check Password: Ensure you’re entering the correct Wi-Fi password.
- Network Frequency: Some devices only support 2.4 GHz networks.
- Restart Devices: Reboot both the smart device and your router.
App Not Discovering Device
- Compatibility: Make sure the device is compatible with your smartphone’s OS.
- Bluetooth Enabled: Some setups require Bluetooth.
- Proximity: Be close to the device during setup.
Device Unresponsive
- Power Cycle: Turn the device off and on.
- Firmware Update: Check for and install any updates.
- Reset Device: Perform a factory reset and set up again.
9. Best Practices and Tips
- Secure Your Network: Use strong passwords and consider setting up a guest network for smart devices.
- Regular Updates: Keep device firmware and apps updated for security patches.
- Group Devices: Organize devices into rooms or groups within the app for easier control.
- Automation and Routines: Set up automated actions, like turning off lights when you leave home.
- Backup Power: For critical devices like security systems, consider battery backups.
Installing smart home devices enhances convenience, security, and energy efficiency in your home. By carefully planning, following manufacturer instructions, and adhering to safety precautions, you can successfully set up a smart home ecosystem that suits your needs. Remember to keep your devices and network secure, and enjoy the benefits of a connected home.
Disclaimer: Installation procedures may vary depending on your devices’ brands and models. Always refer to the manufacturer’s instructions for specific guidance.
Your Trust, Our Core Commitment
At Rising Tech, earning and maintaining your trust is the cornerstone of our mission. We're dedicated to transparency, impartiality, and the relentless pursuit of truth in every article, review, and recommendation we publish. Our commitment to these principles ensures that you, our valued reader, are always equipped with reliable and unbiased information. Let us be your trusted guide in the ever-evolving world of technology.